Sometimes you want to make your content extra beautiful by applying different attractive fonts on it. Some fonts are easily available from the internet, requiring a few steps for installation. At the same time, a few needs to be downloaded from different font websites that require some other installation steps.
If you are using a Mac computer and ever tried to install fonts but failed to do us, let me guide you in this manner, step by step, to solve your confusion. Let’s get along with the article and discuss How to Install Font in Mac.
How to Install Font in Mac
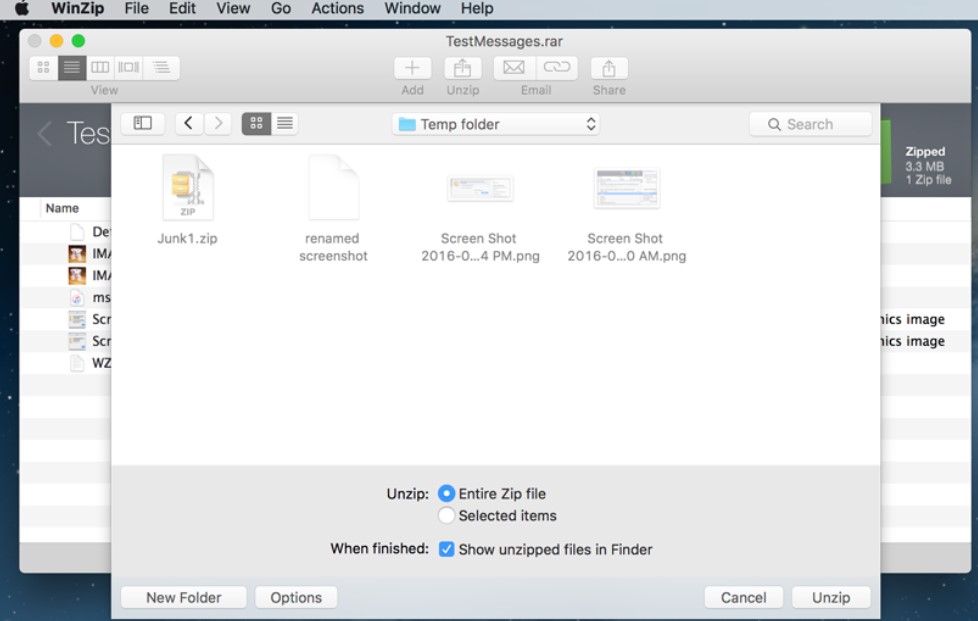
Before installing any font, you need to first download it. For example we are going to install the Avenir Next font. Right after downloading, you can extract the zip file and you will get font files in .ttf or .otf format.
Make sure the fonts that you have downloaded must be in Compressed zip files because later, you have to uncompressed it by extracting it. The Extract option can be found at the start. By clicking it you can easily unzip all the files.
After extracting the fonts, simply go to the folder where you have extracted them and double click on it and after it click on “Install” button, same as below screenshot.
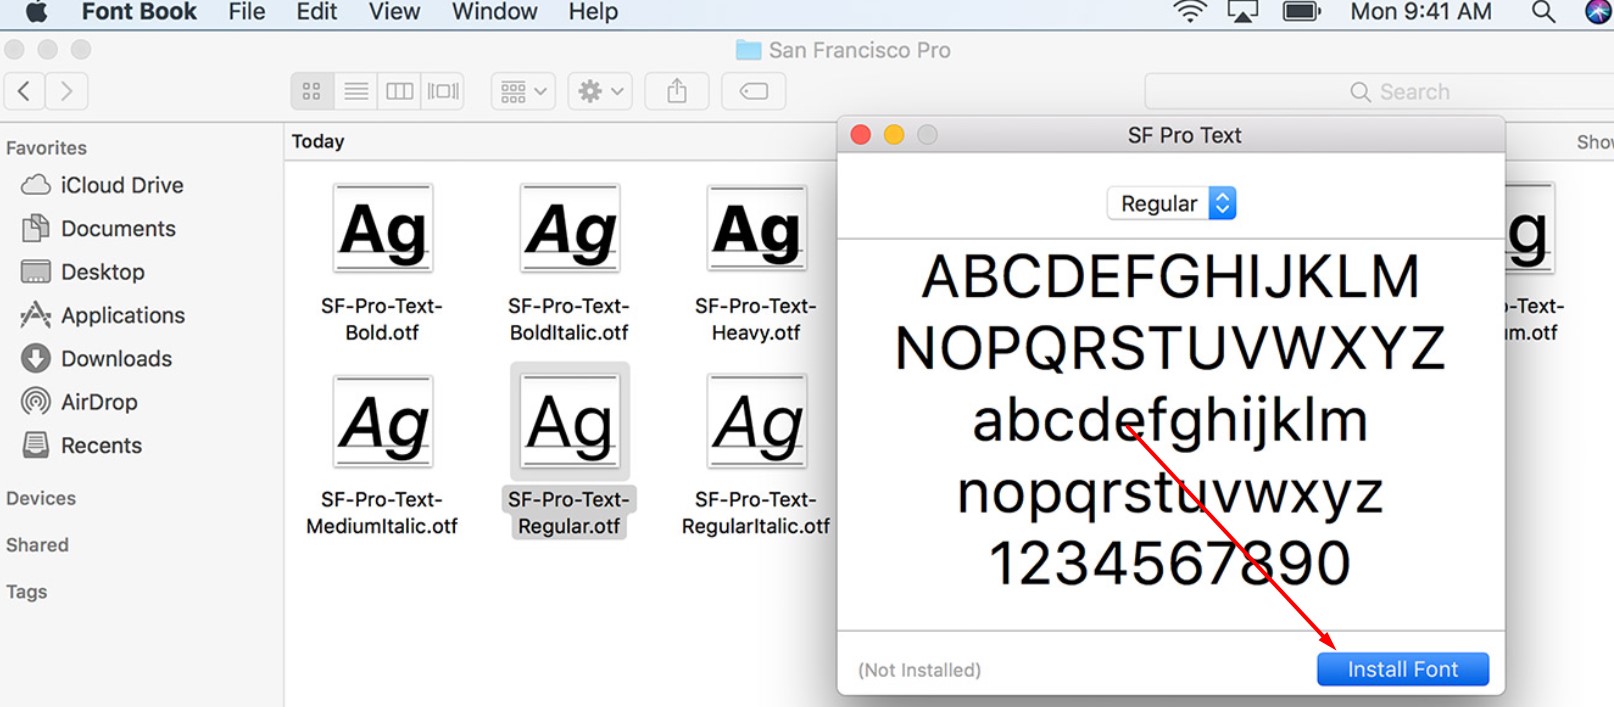
That’s It Your Font is installed!
Let’s proceed to another method in case you want to install multiple fonts.
How to Install Multiple Fonts in a Mac
This is extremely valuable to know how to install multiple fonts. It spares time, a superior method to introduce numerous textual styles. what’s more, exceptionally simple to do. Let’s get our hands on the topic”How to introduce numerous Fonts in a Mac?”.
Once you have download the fonts, make it unzip as you did previously. Now simply click on “Go” button and then click on “Go to folder” same as below screenshot.
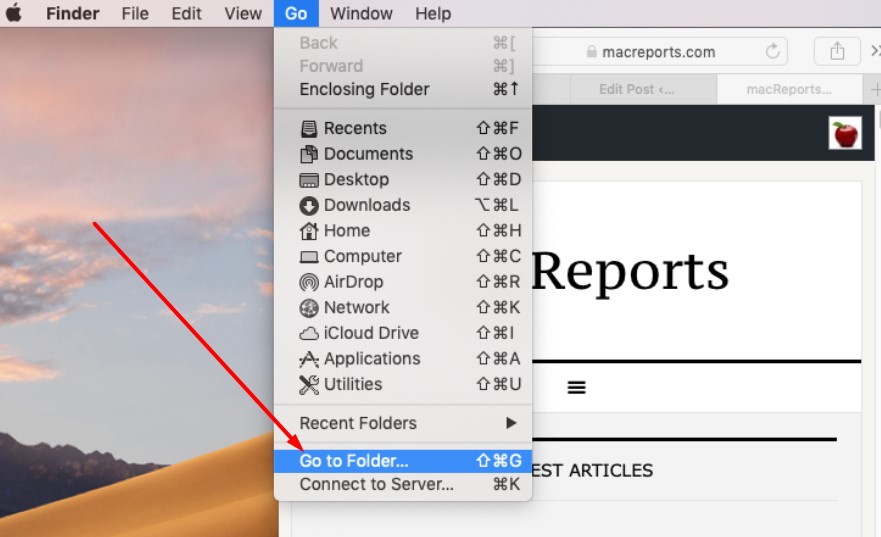
In ‘Go to the Folder’ box type “/Library/Fonts/” or “Network/Library/Fonts”

This is your framework wide font organizer. Where you can introduce all your ideal fonts for the whole PC. All the fonts are the default text styles that accompanied your Mac.
Now simply go back to the folder where you have unzipped the downloaded files and drag them to this folder or you can also copy/paste them.
Now all your fonts are perfectly installed.
Note: If your fonts are not displaying in any program then you can restart your mac to make them appear in all programs.
Installing fonts doesn’t require any complicated and challenging process. It just needs a few easy steps to make your work done without any difficulty. I have mentioned the easiest method of installing fonts on Mac. You can easily get your hands on it if you want to.
If you are looking for a specific guide to install fonts on Adobe or want to install fonts in windows then don’t forget to check our detailed guides.
Conclusions
I hope you will find this method interesting and helpful. Feel free to let us know if you have any question, our team would be more than happy to assist.